Magnify.js
Overview
I touched on it briefly in a previous post. I no longer remember why I started looking into this, but eventually I found this article with a pretty good example showing how to create a 'magnifying lens' effect on images. I didn't like a couple of things about the original, so I rewrote it as a jQuery plugin.
Working Example

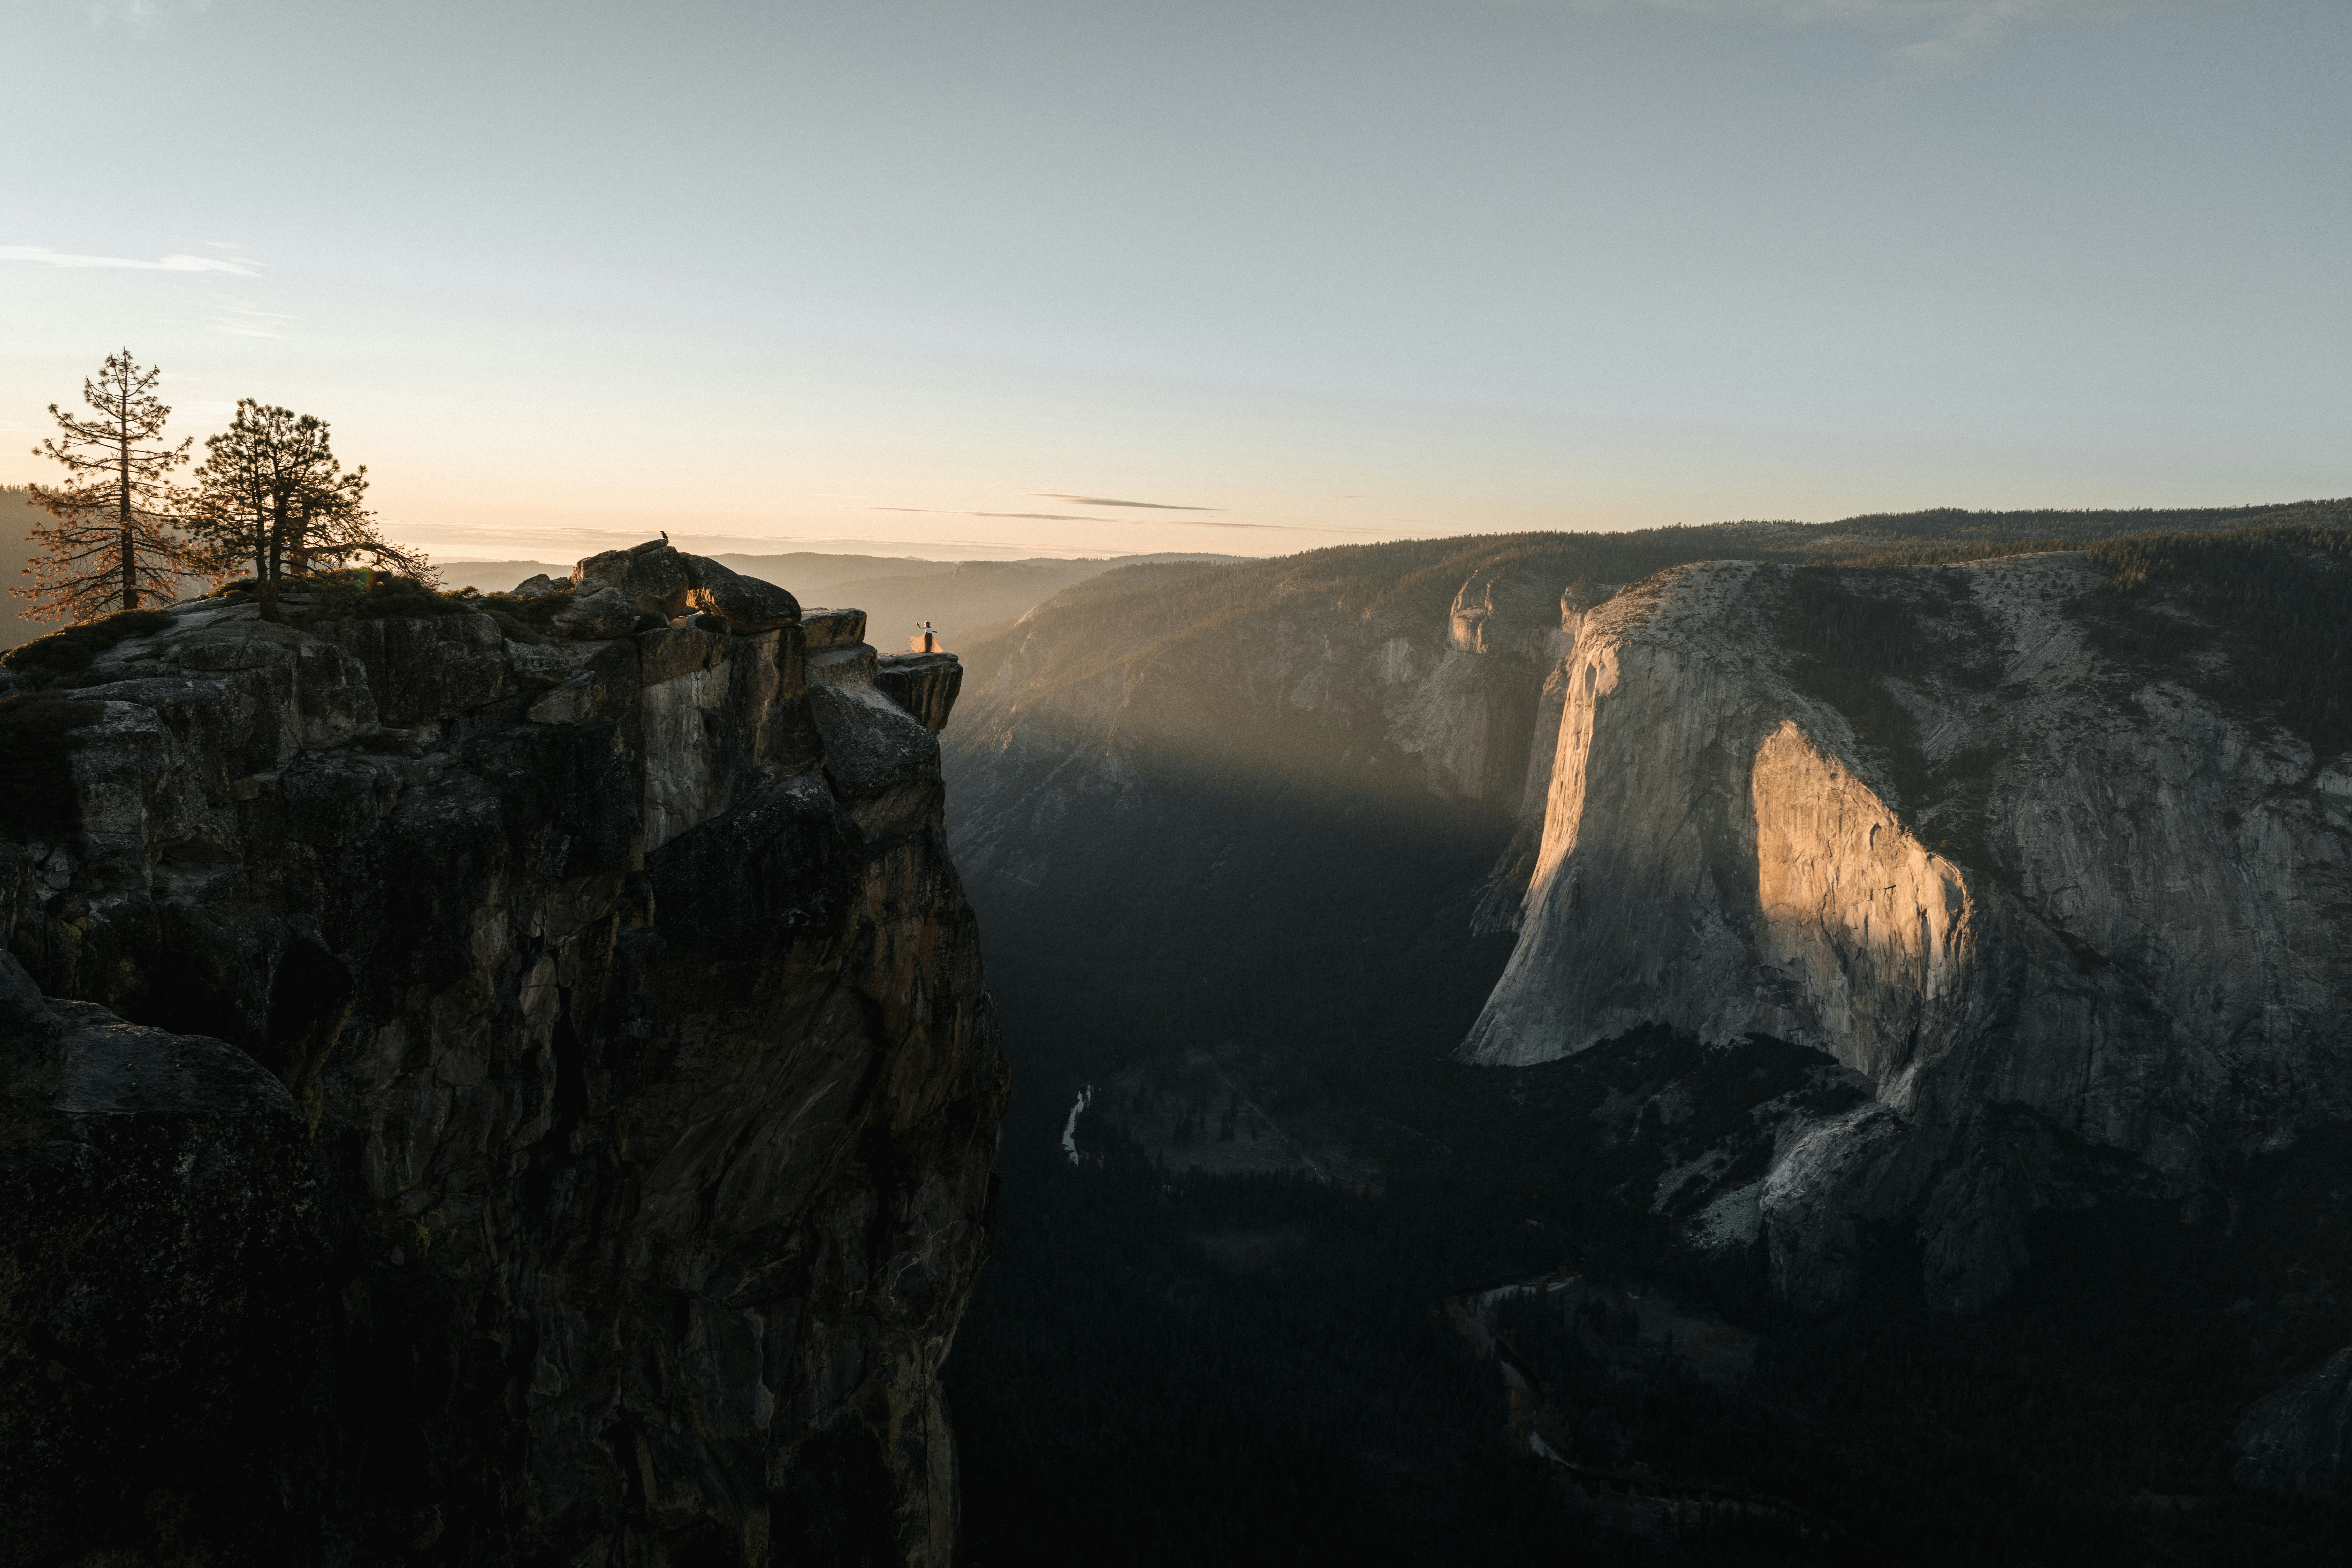
Photo by Dave Herring on Unsplash
How It Works
Short Version
- Use the original image (target) as the background in another DOM element (lens)
- Attach a mouse event listener to the target:
- Pop up the lens, positioned near the mouse
- Do some basic math to calculate the relative position of the mouse over the target
- Do more math to move the lens background around
- Attach another event listener to close the lens once the mouse leaves the target
Long Version
Step 1: Use the original image as the background in another DOM element (the lens)
If you open the image (this link opens a new tab), you'll see that the image is quite a bit larger than the shrunk-down version above. The shrinking is done by Bootstrap's img-fluid class: { max-width: 100%; height: auto; }. But if you remove this class, or at least the max-width setting, you can see that the full size image is already loaded by the browser.
All we need to do now is re-use the same image in another DOM element, but this time as the background-image. I am using the background image because you can easily move background images around (discussed later).
// 'this' refers to the original image
var lens = document.createElement('div');
lens.className = settings.magnifiedClass;
lens.style.backgroundImage = "url('" + this.src + "')";
This is only half of it though. Turns out, we need to inject this element somewhere on the page. I decided to do this in two steps: create a parent div wrapping the original image, and then inject the lens into that same wrapper. I did it after the original image, but order doesn't matter.
Before:
<img src="...">
After:
<div>
    <img src="...">
    <div style="background-image: url('...')"></div>
</div>
Step 2: Attach a Mouse Event Listener to the Original Image
At this point, we have a full-size copy of the same image on the page, albeit hidden from view at the moment. We want to pop up a tiny window of that full-size image that shows the same section of the full-size as the shrunken image that's under our mouse pointer. To do that, we need 3 pieces of information, for both the X coordinate and the Y coordinate:
- The size of the smaller image (target)
- The size of the full size image (lens)
- Where on the smaller image our mouse currently is
Once we have these three pieces of information, we can calculate the value of the fourth piece of information, the X,Y coordinate we are solving for.
1
MOUSE POSITION          DESIRED VALUE
-------------------  =  -------------------
SHRUNKEN IMAGE SIZE     ORIGINAL IMAGE SIZE
2
MOUSE * ORIGINAL IMAGE SIZE     DESIRED VALUE * ORIGINAL IMAGE SIZE
---------------------------  =  -----------------------------------
SHRUNKEN IMAGE SIZE             ORIGINAL IMAGE SIZE
3
(MOUSE * ORIGINAL IMAGE SIZE / SHRUNKEN IMAGE SIZE) = DESIRED VALUE
This isn't exactly the final answer either. If we stopped here, you'd notice two problems: 1) the position of the mouse is in the upper-left corner of the lens, not in the center; 2) as you move the mouse around the image the image moves opposite of our mouse. The second problem is easier to solve than the other: multiply our value by -1. The first problem requires us to pull in another value, the rendered size of the lens. Once we have this, we can adjust the lens positioning by 50% of this value.
4
(MOUSE * ORIGINAL IMAGE / SHRUNKEN IMAGE - (LENS SIZE / 2)) * -1 = DESIRED VALUE